Today we were introduced to Adobe After Effects. We were given the task of creating an animation of a swarm of bees flying across a picture of a sunflower.
We started out with a pre-made folder of AE goodies and made sure that everything in the project was part of the master composition so that it would be easier for the organisation of files. We then made another composition specifically for the components of the bee animation.

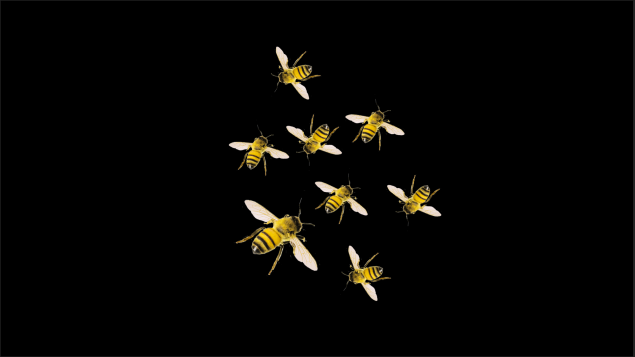
We then dragged out some bee PNGs into the composition panel. We used PNGs for this as opposed to JPEGs because PNGs have a transparent background, which looks way better in animation, than having a big ugly white box around the picture. We then played around with them until we were satisfied with our bee swarm.
We then learnt how to use the stopwatch feature. Each graphic of the animation has its own set of stopwatch options for each of the three transformations; scale, rotate and position. When one of them is turned on, it turns blue and creates a keyframe for the selected transformation at the point on the timeline where the slider is. When it is blue, anything that you do to the graphic makes another keyframe. Keyframes are represented by little grey diamond shapes. For example, if you had the position stopwatch turned on, and you moved its graphic across the screen, it would create another keyframe where you put it. If you played it back, then the graphic would fly across the screen in the path that you moved it. The speed of it depends on how close the keyframes are to each other; If they are close, then the animation will be faster, but if they are farther apart, then the animation will be slower.
If you hold down shift and click on multiple keyframes, then you can select more than one. If you then press the keyboard command CMD + D, then the keyframes you selected will be duplicated. This allows you to repeat animations, which saves you the time and mental torment of having to make them manually.
The above is the basic idea of how to animate with Adobe After Effects. It was with this information that we went about making our own dumb little bee animations.

I made repeating animations of the bees twitching, which I hoped would make them look like they were flying when I moved them across the screen.
Up till now, everything has seemed pretty reasonable, logical and straight forward. But after this point, I got really into my animation and went ever so slightly crazy with it. So crazy, in fact, that I forgot to take any screenshots of my process. So I’m afraid that I can only show the end result.
Seeing as this was my first proper go at AE, I’m actually pretty happy with the result. With every little animation I make, I always try to add at least one itsy bitsy bit of narrative, because it just makes the process way more fun.

So grab a tiny packet of popcorn for the next 20 seconds and enjoy my dumb animation!