Maya Arnold Robot Lighting Task

I was given a premade model of a toy robot that I needed to add realistic metal shaders to and then set up some lights so that the robot is lit up realistically.

I’m doing this with the help of this article.

https://docs.arnoldrenderer.com/display/A5AFMUG/Introduction+to+Arnold+for+Maya

Here’s how the not so little guy should look by the end.

Screen Shot 2019-11-04 at 10.19.13.png

And here’s how he looks, to begin with.

Screen Shot 2019-11-04 at 10.24.55.png

To start off, I created 3 area lights by clicking the area light on the Arnold shelf.

Screen Shot 2019-11-04 at 10.27.17.png

Then I set up the area lights like so.

Screen Shot 2019-11-04 at 10.33.58.png

Then I increased the exposure of each light to 8.  I was able to do this by going to the Attribute Editor.  Whenever you want to edit the attributes of lights in Arnold, you always need to go to the Attribute Editor.

Screen Shot 2019-11-04 at 10.36.53.png

Screen Shot 2019-11-04 at 10.39.49.png

I selected the right light and clicked the little box that said: “use Colour Temperature” this means that I can now edit the colour of said lights.  I left the right light at its default colour, (approximately 6500) which is tinted a cold blue, then I did the same with the left light, but changed the value to 4000, which made it turn an orangey colour.

Screen Shot 2019-11-04 at 10.43.51.png

I then assigned a Standard Surface Shader to the robot.  I did this by going to the Hypershader window by clicking this little blue ball.  This material will be responsible for making the robot look metallic.

Screen Shot 2019-11-04 at 10.59.32.png

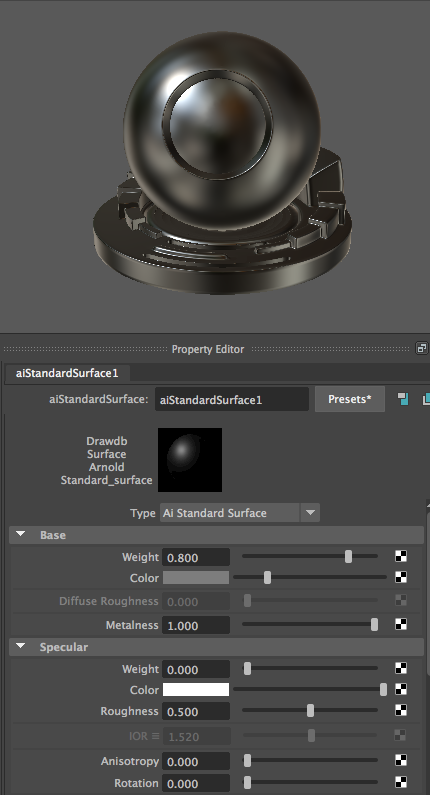
I then changed the values to this.

Screen Shot 2019-11-04 at 11.04.09.png

Once I’d assigned the new material to the robot, this is how he looked in the standard view.
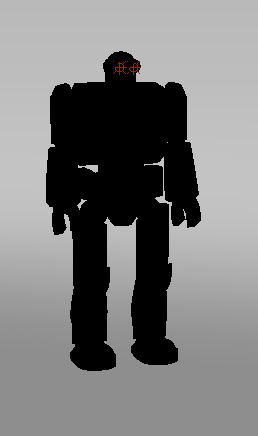
Screen Shot 2019-11-04 at 11.12.33.png

Beautiful, ain’t he?

I then made a quick render to see the brave little guy’s progress so far.  I did this by clicking this button.

Screen Shot 2019-11-04 at 11.15.50.png

And here’s a blurry image of this majestic being.  I may have gone overboard on his eyes…

Screen Shot 2019-11-04 at 11.20.14.png

I then enabled DOF (depth of field) and selected the robot’s head, then did this.


This shows me how far away the robot’s head is from the camera.

Screen Shot 2019-11-05 at 12.49.44.png

And then typed the value at the time into this box.

Screen Shot 2019-11-05 at 13.07.31.png

And then changed the aperture size to 0.5.

Screen Shot 2019-11-05 at 13.09.32.png

Then I played around with the render view and got this.  It’s not what I’m supposed to do, but I like it.
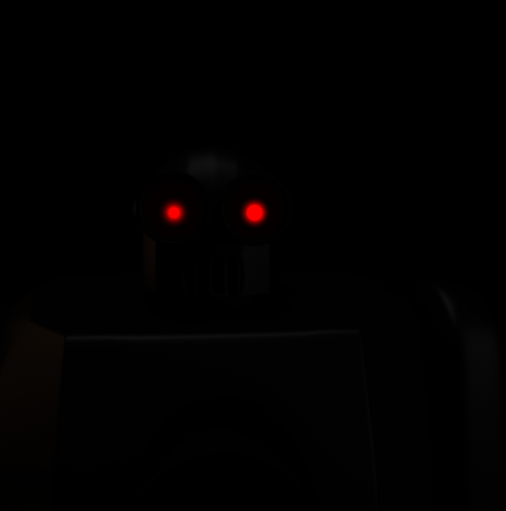
Screen Shot 2019-11-05 at 13.17.10.png

Then I exported it properly, and this is the final image.

Shiny_Robo_Boi.jpg

More Lighting in Maya


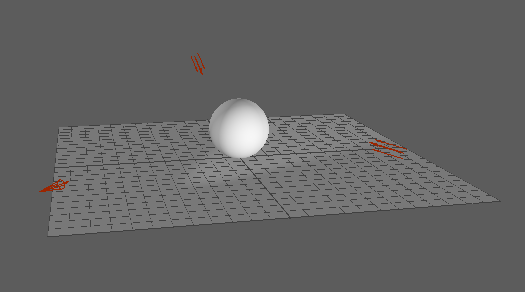
So we had to light a ball using the three-point lighting technique in Maya.

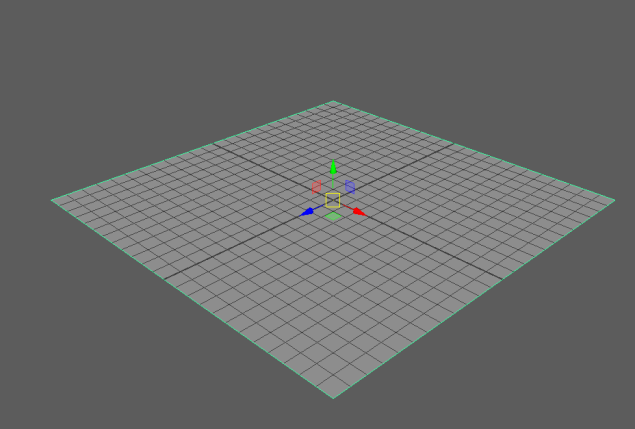
I started by creating a plane.

Screen Shot 2019-10-29 at 12.49.26.png

I made it this size by using the Channel Box and changing the scale options.  I then brought the subdivisions down to 1 on the width and height bits.

Screen Shot 2019-10-29 at 12.49.19.png

I then made three different lights; a spotlight and two directional lights.  I then placed them all around the ball, about 45 degrees apart from each other.  The spotlight is being used as the key light, one of the directional lights is the fill light, and the other directional light is the backlight.

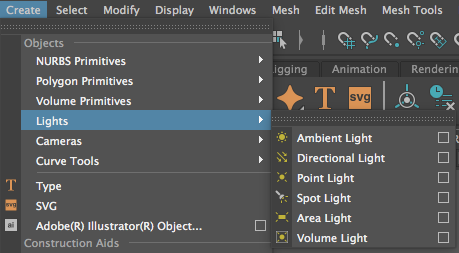
This is how I created the lights that I used.

Screen Shot 2019-10-29 at 13.22.41.png

I pressed “7” on the keyboard to turn on lighting in Maya.

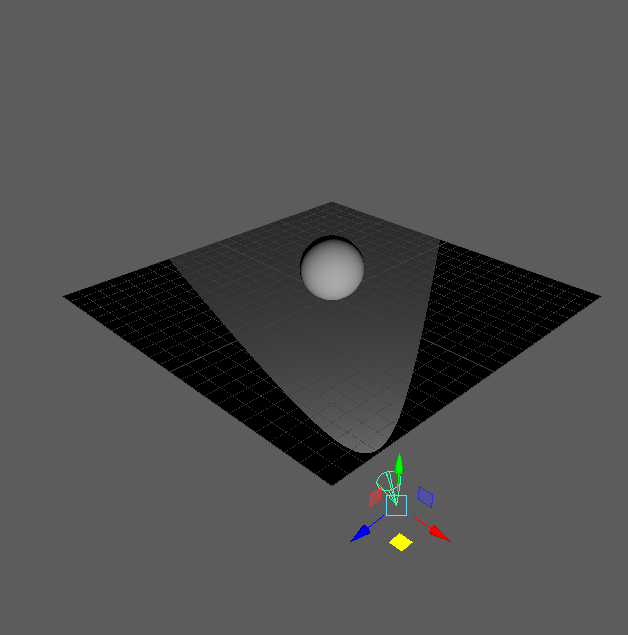
So this is the spotlight.

Screen Shot 2019-10-29 at 13.08.05.png

As I was going through this process, I regularly viewed the scene in the render window, so that I could see how it would look in the end.  This is the button that I pressed to do that.

Screen Shot 2019-10-29 at 13.09.10.png

And this is the render view from the top.

Screen Shot 2019-10-29 at 13.11.02.png

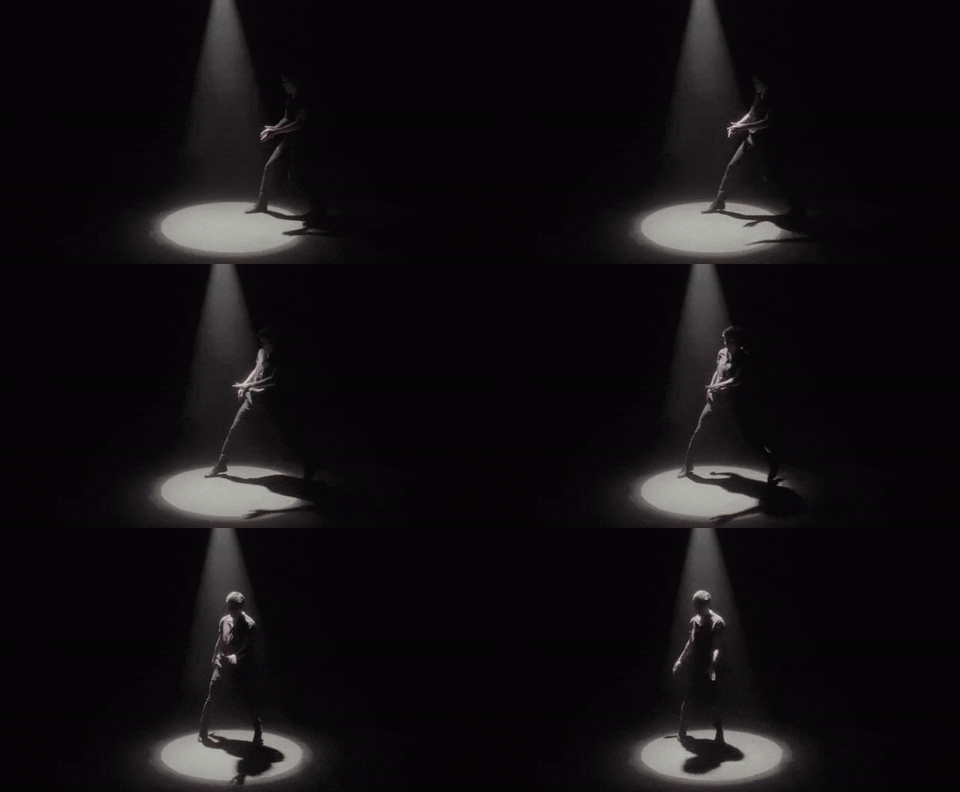
So Kieran (teacher) said that we were aiming to position the three lights so that the ball had a halo on the top of it.

I TECHNICALLY did what he wanted.

THE HALO LINE.png

I tried to make the lighting how Kieran wanted it, and this is the best that I could figure out

Screen Shot 2019-10-29 at 14.04.10.png

Screen Shot 2019-10-29 at 14.04.25.png

Maya Lighting Task

The 6 Light Sources

Ambient

It is useful for simulating a combination of direct and indirect lighting.

Brightens all parts of the scene uniformly.

images.jpg


Directional

Even illumination of a scene using parallel rays of light.

useful for extremely far away sources, like sunlight.

download-1.jpg

Point

Light radiates in all direction from a single point, it is ideal for Omni-directional sources, like a lightbulb.

download-3.jpg


Spot

creates a cone of light in one direction, useful for beams of light, like a flashlight or a lighthouse.

download-2.jpg


Area 

2D rectangular light sources, it is useful for windows and ceiling lights, but the more area lights you have, the longer it will take to render.

maxresdefault.jpg


Volume

Light fills a 3D shape (sphere, cylinder, etc)

it is useful for a visual representation of the extent of the light.

download-4.jpg


Three-point lighting

3PointLighting.gif

Key light

the main source illuminating the subject.


Secondary light

(fill) highlights details of the object.


Backlight

Distinguishes the object from the background.


Attributes of light


Intensity

How much light emitted from the light source.


Fall off/decay

How much light diminishes from the source light (fall-off).


Cone angle

width of the lights cone of influence – area outside cone is not illuminated.


Penumbra Angle

Fall off at the edge cone of angle – gives a softer edge to the light source.


Drop-off

how much the light diminishes at the outer edges.


Colour

set an RGB colour for the light – affects the colour of the scene.


Light Controls

The aim from/ aim at


fall-off rate


cone radius


penumbra/umbra control


non-linear fall off


all in one control


Good ways to use lights


look to photographers for good techniques

tenor.gif


think in terms of balance

download.jpg


look at natural lighting 

images.jpg


avoid overly dramatic lights

giphy.gif


avoid saturated lights and hues

color-saturation-increase-decrease-mac.gif


normally only need a few lights

giphy.gif


avoid disco colours and effects

giphy-1.gif


Shadows


Hard shadows

db172cca8bc4eaef14f7152b9482ebb8.jpg


Soft shadows

a2-Hugo-1024Sources.jpg


Fall out

Acts light a colour gradient, the shadow becomes lighter at the top of the object.

giphy.gif


Shading

Every time you create a 3D object, you need to assign the right shaders, to make it look how you want it to.  Materials and textures also fall under this term.

tmpcd00148_thumb.png


Hypershade

The Hypershade is the central working area of Maya rendering, where you can build shading networks by creating, editing, and connecting rendering nodes, such as textures, materials, lights, rendering utilities, and special effects.

maxresdefault.jpg


Lambert

Default, matte material.  Here’s a D20 die I modelled in Maya.

Screen Shot 2019-12-03 at 11.38.31.png


Blin

Metallic material.  Here’s a flip lighter I modelled in Maya.

Screen Shot 2019-12-03 at 11.44.12.png


Phong

Phong is a material (shader) that represents glassy or glossy surfaces (such as car mouldings, telephones, bathroom fittings) with a hard specular highlight.  Here’s a sphere I made in Maya.

Screen Shot 2019-12-03 at 11.46.14.png