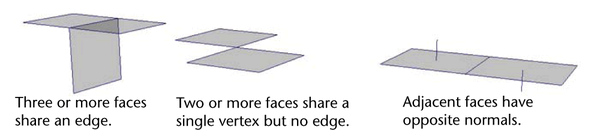
non-manifold topology polygons have a configuration that cannot be unfolded into a continuous flat piece. Some tools and actions in Maya cannot work properly with non-manifold geometry.
Two-manifold topology polygons have a mesh that can be split along its various edges and unfolded so that the mesh lays flat without overlapping pieces.
Folder structure is very important when using Maya, because if your files are spewed all over your different folders then Maya will have a hissy fit and refuse to work unless everything is as it should be, and it will also just be really annoying to have to search through all of your files just to find the latest save file incarnation of your dumb little animation.
But fear not! The folks over at Maya have thought about this, and have made it so that Maya projects automatically save all the relevant files in a very organised manner, so you don’t actually have to put any effort into remembering how to organise your files! Yay!
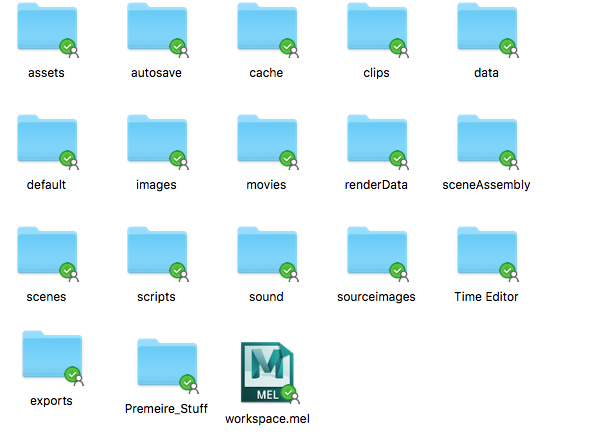
Here is an example of my folders.
But it’s not all sunshine and rainbows if you forget to save your project regularly as you work on it, then when you come back to it, you may find that you’ve lost a whole days work. So in the name of all things sane and productive, please click the little save button every half hour or so.
And just in case you’re interested in this kind of thing, Maya can save files as: “Maya Binary” (“MB”), for unfinished projects, and “Maya IFF” for finished, rendered projects.
Topology is the organization, flow and structure of vertices/edges/faces of a 3D model.
2. Name 3 types of Topology.
3 sided – Tris.
4 sided – Quad.
5 or more – Ngon.
3. Name the four points that collated will make a polygonal 3D model/wireframe.
Vertices, Edges, Faces and Poles.
4. Find an image for each kind of topology and give an explanation as to the uses of each one e.g. pros and cons.
Tris
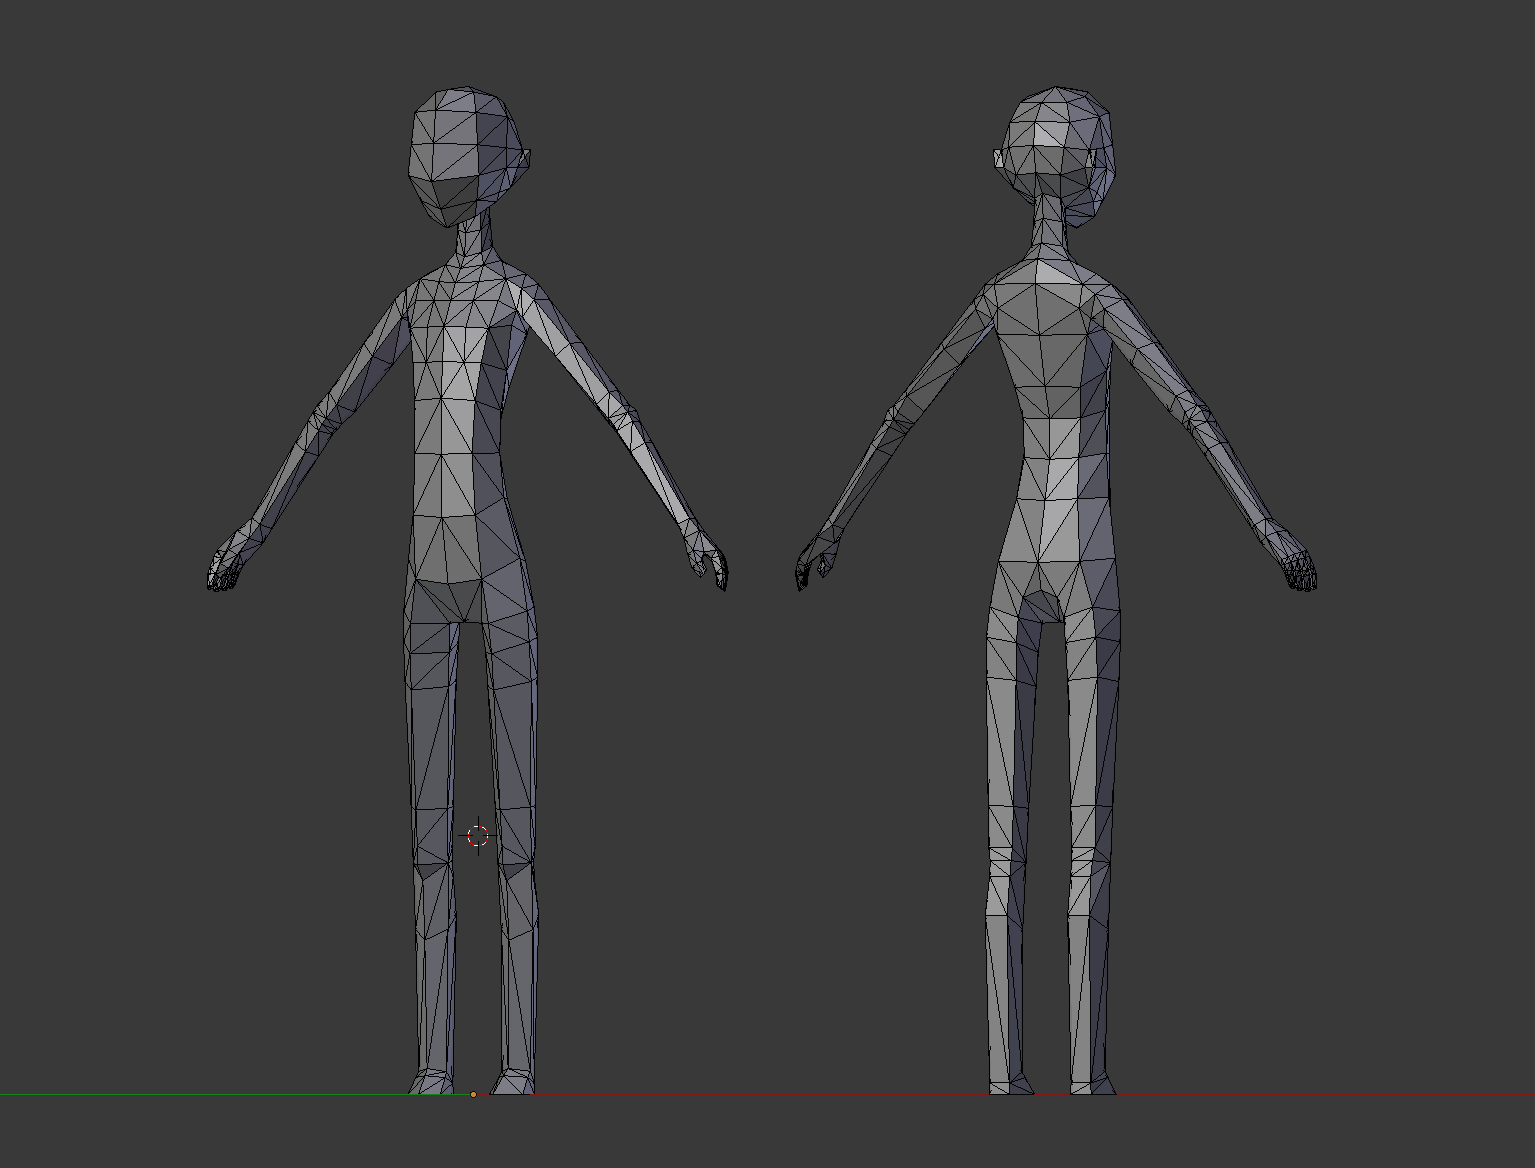
Tris, as in triangle. Trises are good for when you want to make a model look very pinched, with lots of sharp edges and pointy bits. They are good for projects with a low-poly art style, like the image below. But don’t use them if you want to make a rounded, smooth model, like a realistic face; for this, quads would be your ideal option.
Quads
Quad, as in quadrilateral. If you want your 3D model to appear somewhat smooth, quads are your best bet. They open up the floodgates to a whole range of techniques and possibilities. They are ideal for following the contours of a face and or body model. But if you want a more of a low-poly art style, Trises are better than quads.
Ngons
Ngon. This means a number of polygons more than 4. Ngons are good because they can result in a lower poly count. But ngons often lead to animation (or more precisely, deformation) problems. Topology for animation relies on proper edge flow, and thus ngons are a big no-no if the mesh is supposed to be bent or deformed in any other way.
5. Find an example of good topology and explain why it is good.
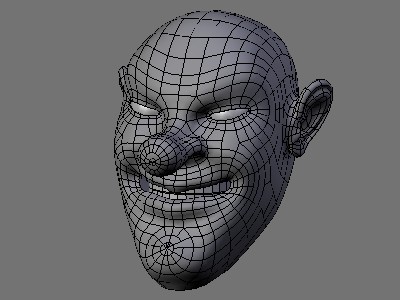
This beautiful ogre has good topology because there aren’t an overabundance of polygons, and the quads follow the shapes and contours of the face, which would make deforming and animating it a lot easier.
6. Find an example of bad topology and explain why it is bad.
The example on the left has horrifying topology, because of a bunch of reasons. There are way more polygons than there needs to be, and this will make animating and deforming the model a lot harder, and if this model is for a game, then it will cause it to run a lot slower. There are all kinds of different polygons, there are ngons, quads and trises; this makes the whole thing was more confusing than it needs to be. And to top it all off, the polygons don’t follow the contours of the face, which would make deforming and animating it so much harder.
7. Give an example of when you can get away with bad topology.
When you’re modelling an object that isn’t going to be manipulated when animating, a non-important background object, like a rock.
8. List three things that make good topology.
A reasonably low poly count. Not too much variation of types of polygon, as in tris quads and ngons. And finally, polygons that follow the contours of the model.
9. Write a brief explanation of the following terms and their differences.
Polygonal Modelling / Hard Surface Modelling
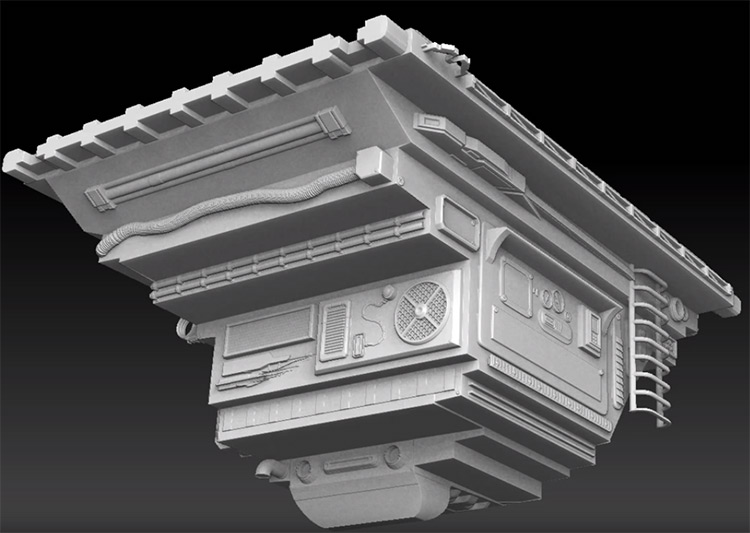
Polygonal modelling is basically an umbrella term for 3D modelling using polygons. And hard surface modelling is normally for buildings and static objects that are not going to be animated; so in this case, the types of polygons you use doesn’t matter too much, just as the final product looks good.
NURBS Modelling
NURBS stands for Non-Uniform Rational B-Splines. They are a method of making very accurate, smooth curves on 3D models, using what are called “control points”. But when using NURBS, one often runs into the problem of having the seams sticking out, which is why they are not commonly used for games and animation, but if you are doing product design and want to make mathematical, accurate designs, then NURBS is a good option.
Subdivision Surface Modelling
Subdivision Surface Modeling. This is a modelling technique for making high-resolution models, by manipulating a lower-resolution “cage” model and using software to subdivide for a smoother surface. Subdividing increases the number of vertices on the model, making curves more rounded.
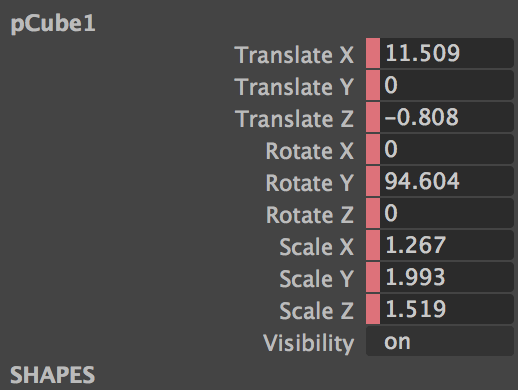
I changed all of these things accordingly as I went along. Each bar controls something different about the object, like “Translate X” would move it around the X-Axis.
Here is the timeline which held my terrible animation.
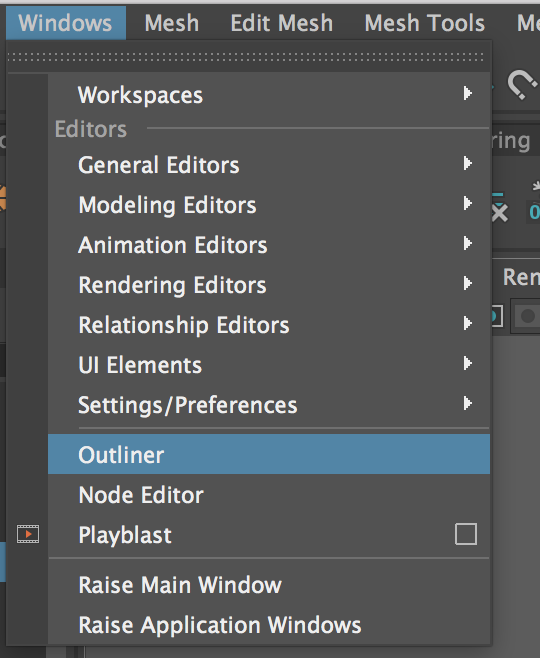
The outliner allows you to see everything within your scenes, and organise them.
You can either access it by doing this:
Or just by clicking this:
Animating
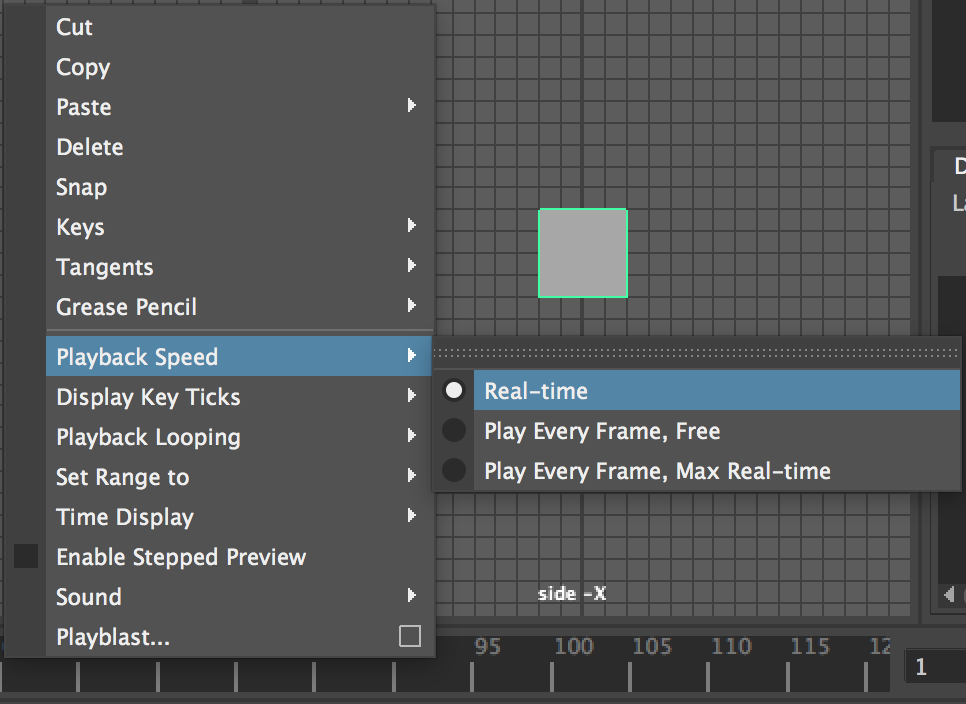
Timeline
when animating, right click on the timeline, and do this.
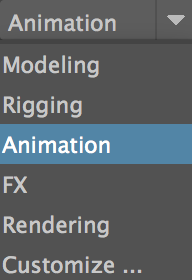
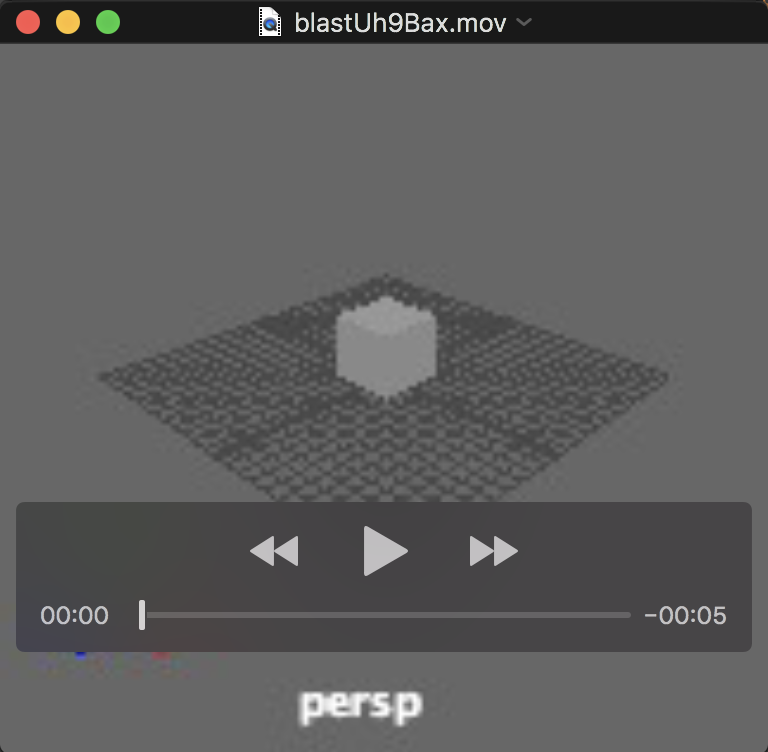
Playblast
A playblast is a quick, low-quality render of your animation so that you can see how it all looks. It is good to do this, instead of fully rendering your animation to save time and money. To do this, start by setting the workspace to “Animation”:
Then do this:
And it will create a small window showing your badly rendered animation.
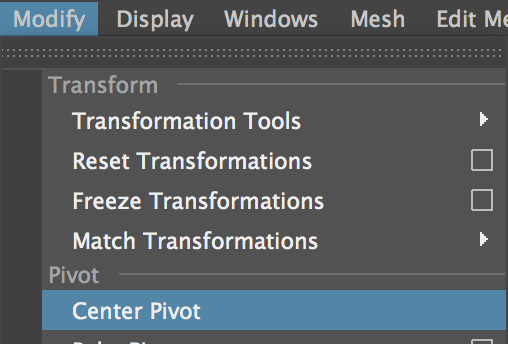
Pivot
To centre the pivot, so that your camera moves around the object, do this.