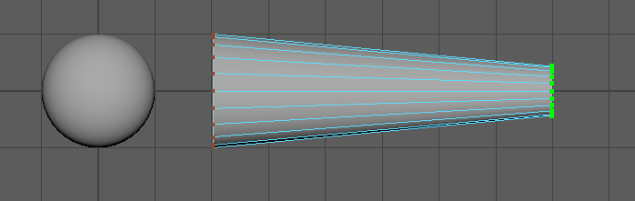
I started this task by creating a sphere.

Then I created a cylinder, rotated it 90 degrees and extended it out, by selecting the vertices of one of the ends, and using the move tool to extend it out.

I then used the scale tool to shrink the selected vertices so that it looked like this.
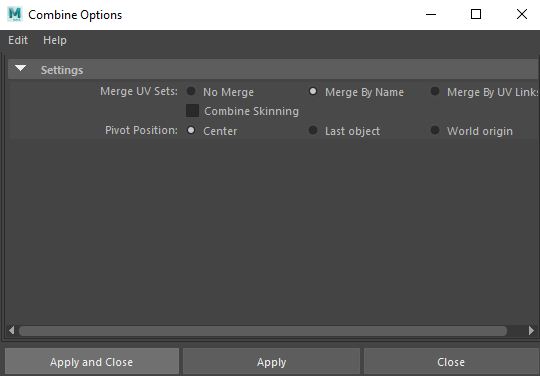
Next, I combined the two objects into one, by clicking on this option box.

Then clicking “Apply and Close”.
This is what the two grouped objects look like in the outliner.

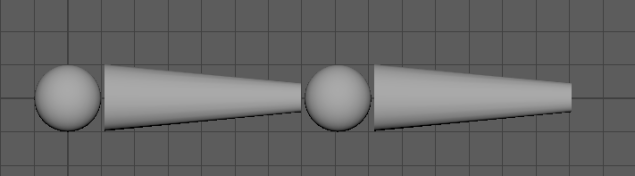
Then I selected the group and pressed CMD + D to duplicate the objects.
Then I played around with the second group, trying to make it look more like a forearm, then I made another sphere and a rectangle for the wrist and hand. I stretched out the forearm quite a bit because I wanted to make the arm kind of spindly, cartoony and stylised.

This is what the outliner looks like at this point. 
The thingies with the red arrows on them are my object transformation history, so they are not useful and just clutter up the outliner, so I’m going to remove them by doing this.

This is the outliner now. Ain’t that better.

Then I renamed the groups so that it is easier to navigate the outliner.

Then I selected the arm and created a new layer.

This is what the layer looks like.

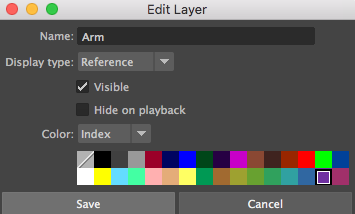
I then double-clicked on the layer, and the edit box came up. I changed the colour so that it is more visible in the menu, and renamed it so that it is easier to understand which layers correspond to which objects.
This is what the layer looks like now.

Next, I switched from the modelling to the rigging menu.

Then with the arm selected, I created a joint by doing this.
I then clicked on each sphere which will act as a joint, to make the arm rig. I also switched to wireframe mode to make it easier to see the rig.

I then renamed the joints to reflect their corresponding parts of the arm. They’re in a parent-child hierarchy, which means that when I move and rotate, for example, the upper arm joint, both the forearm and hand joints with move along with it, because they’re the children of the upper arm.

I then selected the hand object group, and the hand joint. When doing this, you should always select the object first.

Then I clicked parent to combine them into the parent-child hierarchy of the joints.
Then I did the same with the forearm and upper arm, and this is what it looked like in the outliner.

And now, whenever I rotate the upper parts of the arm, the rest moves with it! Yay!
So now I just need to animate it. I want to make it slap someone, so I’m going to download a model of a guy off of TurboSquid. https://www.turbosquid.com/
I then created lambert materials and assigned them to different parts of the body to make it look better than everything just being a plain grey colour.

Next, I animated the arm swinging and tried to add secondary animation to it, in an attempt to make it look more realistic.
I then made the man fall down when he’s slapped, but I made a mistake and the inner bits of his face stayed suspended in the air.
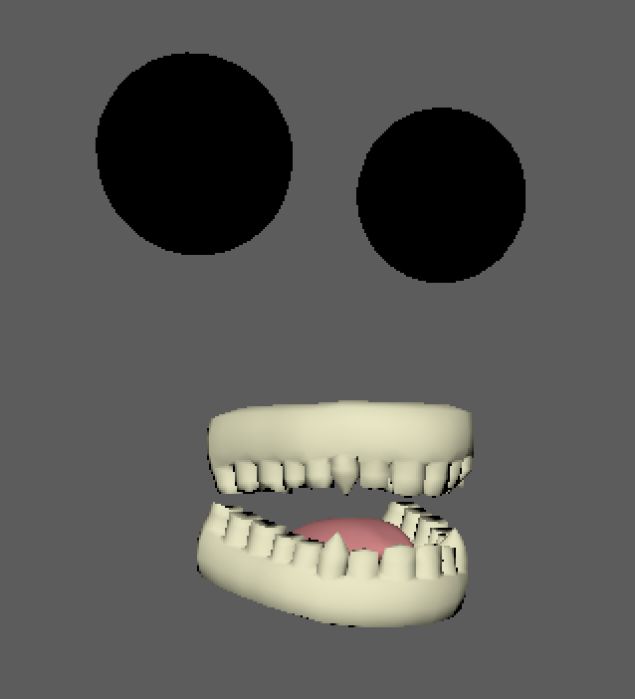
But I thought that it makes it more interesting, so I decided to keep it like that. After a small amount of time, I animated the face parts falling down out of shot. I wanted to make it similar to this.

I changed the colour of the eyes to white, then also made some pupils so that I could make something similar to the gif above, and this is it finished!
Questions!
Name one thing that non-manifold geometry cannot do? – non-manifold polygons cannot be unfolded into a continuous flat piece.
Describe 3 things that you can change when grouping objects together? – You can group the selected objects together, ungroup the selected group and you can select a group.
Give an example of how or when you might use a parent-child hierarchy – When you transform a parent, its children are transformed with it. This lets you, for example, model a leg by making the thigh the child of the hip, the knee the child of the thigh, the shin the child of the knee, the foot the child of the shin, and so on. Rotating one join rotates the rest of the leg under that joint.
Name 3 different combine options within May and how might you use the selected options in your workflow? – Pivot Position, you would use this to decide where you want the pivot point of the combined object will be. Combine Skinning, this binds skins, by using the previous weights. Merge UV Sets, this allows you to choose an option to set how your UV Sets should behave upon merging.
Describe two things that you should be aware off when combining geometry in Maya – Make sure you’re aware of where the pivot of your newly combined mesh is located, as it will affect future transforms you apply to it.
Combining meshes can result in non-manifold geometry, where the normals of adjacent faces are pointing in opposite directions.
