tldr:
RESEARCH
I watched a bunch of videos related to animated objects.
After watching this horror 3D short film, I got thinking about making a horror animation. But then I also had the idea to do a noir black and white kind of thing, because I’m making a noir film in another class. I could model and rig a cigar, and make it all dramatic.
Or if I go down the rabbit hole further, I could do a torture scene with inanimate objects. It would be cool to have some voice acting from either me or my friends. A group of thuggish objects could be questioning a sly object about the whereabouts of an object related to them.
I found this article about two people who made animations out of inanimate objects and they’re awesome! https://www.itsnicethat.com/features/found-in-adobe-stock-michael-marczewski-animation-130918
Or I could combine the two ideas and make a torture noir scene with a cigar. I found this free object on Turbosquid. https://www.turbosquid.com/3d-models/3d-cuban-cigar-model/879151

I watched this video essay on Film Noir and it really helped me to think of ideas and get a sense of the genre. It also gave me a list of films that I want to go and watch for more inspiration, like Chinatown.
I’m thinking that I want it to start with a voiceover of the protagonist, and either a black screen or an establishing shot of the room. I want the protagonist to be restrained in some way, the antagonist to be looming over him, and the femme fatal somewhere close by who is betraying the protagonist, who is going to be killed at the end of this scene. The antagonist could either be one of those fancy metal lighters or a cigar, and the protagonist could be a normal cigarette. The femme fatal could be a stick of lipstick, and there could be some thugs that could be shot glasses or just bottles of bourbon.
The antagonist and femme fatal are trying to get the whereabouts of some money or something valuable out of the protagonist, and once he gives it to them, he will be killed.
I also love the idea of having one colour that sticks out. In premier pro, I’m going to make the whole video black and white, and then I can play around with the colours so that one type of colour is bright and vibrant, like red. I think red would look cool, especially if I use red lipstick because that then signals out to the audience that she’s important. Or I could make the thing that he gives them a bright colour. Ooooo! the femme fatal lipstick could kiss the protagonist on what would be his cheek and it would leave a bright red mark on it.
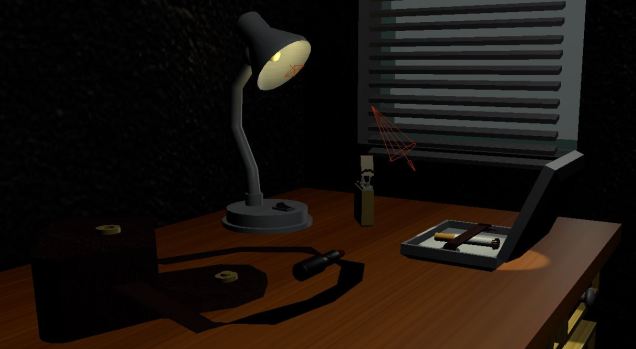
I found this 3D noir detective office that someone made. I think that it would be awesome to have the scene take place on a noir desk, perhaps with a man slumped over it asleep. So I guess the first thing to do is start making my own room.

MAKING STUFF
I used my friend Dia’s real-life cigarette for reference and modelled this.

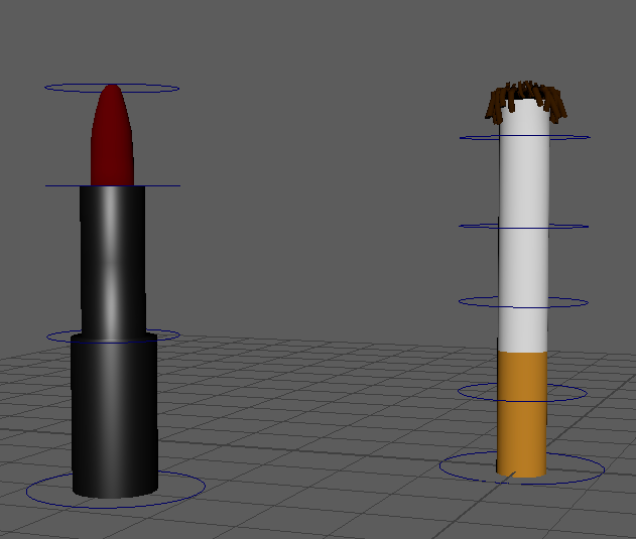
I used this reference image to make my own 3D lipstick model.

This is the result.

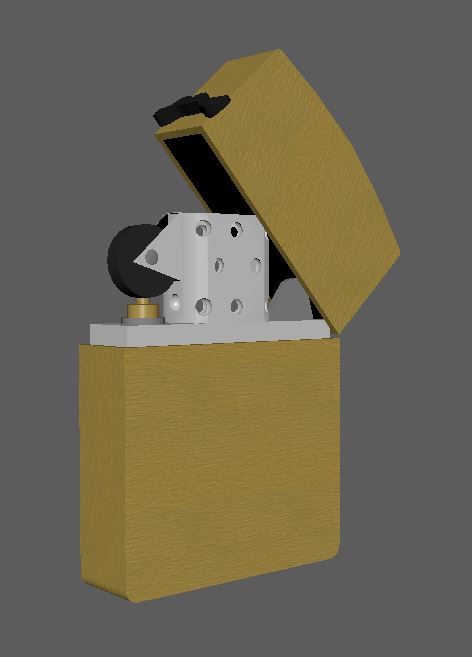
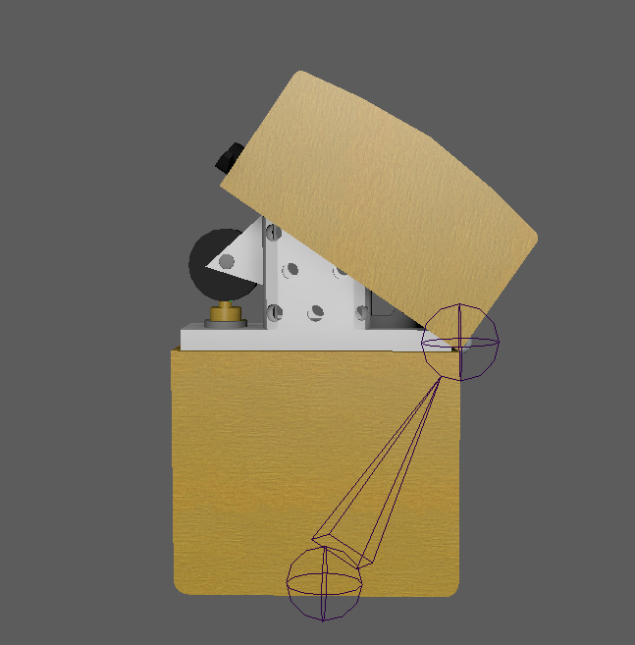
I then used this photo for reference in making a 3D lighter.

This is the result.
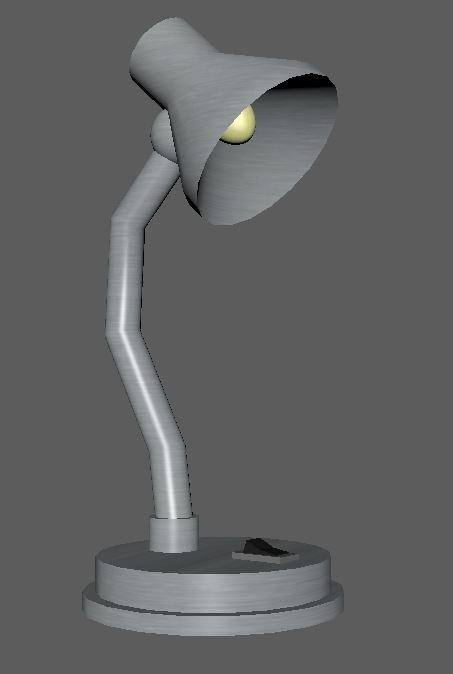
I then used this photo for a reference.

And this is the result.
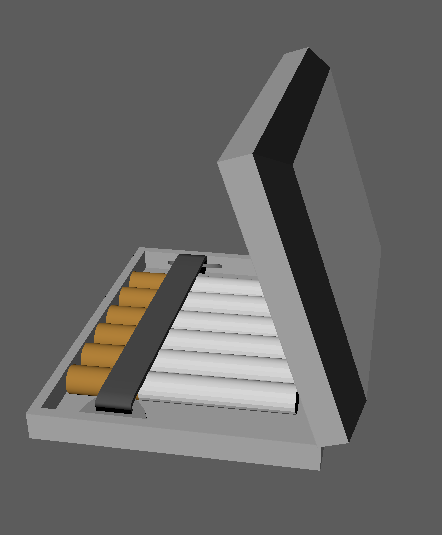
I forgot to save the reference photos for the next objects I made.


So this is how everything looks when it’s put together.
SCRIPT
LIGHTER “Now, I’m only going to say this once more, and you are going to use your pitiful voice to tell me the truth, or I’m going to burn your lovely missus here, and you’ll have to watch as she slowly, painfully melts into a red goop and you’ll be responsible. How you’re gonna live with what you’ve done, I don’t know”
CIGARETTE “STOP! Just… stop, I’ll tell you, but once I do, don’t you dare lay a single flame on her. …The diamonds are in the jewellery box on the shelf…”
LIPSTICK “Christ, I thought he’d never talk. Being stuck here for half the day hasn’t done any favours for my immaculate complexion.”
CIGARETTE “Y…You were working with him all along?! How could you do this to me?! I trusted you! I fucking love you!”
LIPSTICK “Tough, love is overrated sweetie.”
CIGARETTE “This is the man who will burn me alive. This is the woman who will betray me. And this is me, the fool who fell in love with the wrong cosmetic product. Now let’s roll back in time to see the beginning of the end of my wretched life.”
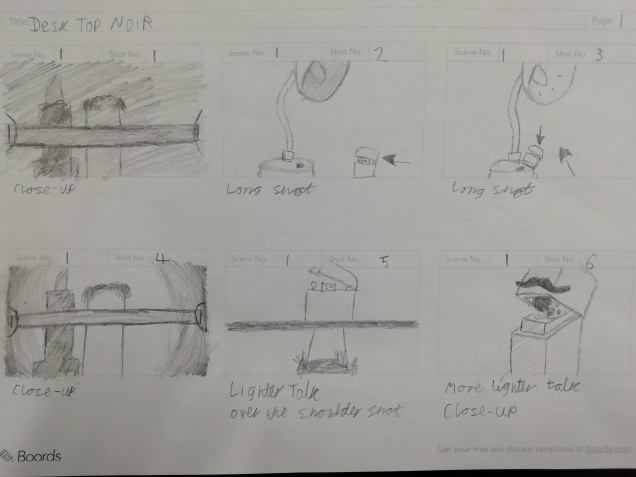
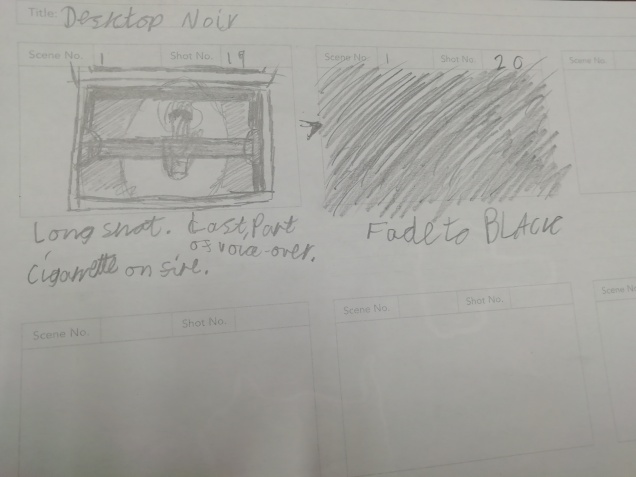
STORYBOARDS


ANIMATING
I then rigged the lipstick and cigarette and used the constrain option to bind the circles to the skeleton.
So now I have everything I need in order to actually start animating!
…or so I thought. It turns out that because I scaled up the cigarette and lipstick models I couldn’t figure out a way to scale them back down to the correct size, so I deleted the rigs, scaled the models down, and re-rigged them. I then realised that I needed to rig the lighter, so I did that.
And NOW I have everything I need to start animating!
I got my dad to be the voice actor of the lighter, my friend Alex to voice act the cigarette, and Kat to be the lipstick.
Unfortunately, because I recorded them on my phone, for some reason they were saved in the file format m4a, which Maya can’t use, so I used a browser-based file conversion website called Zamzar.
I imported the voice lines into the timeline and animated the cigarette and lipstick to switch to each sound the voices made, to make it look like they were talking. I tried my best to lipsynch the lighter’s lid moving up and down with the voice lines. This all took a LOT of keyframes. Here are all of the ones just for the lighter.
![]()
RENDERING
After I animated it, I used the camera sequencer to organise what cameras would be used at what points in the timeline, and for how long. Some of my shots only needed one or two frames rendering, so I didn’t include them in the camera sequencer. Here’s what it looked like.

Once that was done, I spent way too many hours trying to figure out a way to batch render the whole lot in one go, instead of manually setting each camera to render. But I’m so pleased I didn’t because 400 frames in, I realised that I hadn’t set the lights up properly and everything was way too dark. Although I was going for a noir type of atmosphere, this was just too damn dark.
So I set up the lights again and started the very long ordeal of rendering it. The batch render took 1 minute per frame, and I had 1480 frames. I did some maths with google and calculated that it was going to take me 23h 30m to render. I rendered the shots over the span of 4 days and made a separate folder for each of the cameras so that I could stay organised and not have to look at almost 1500 jpegs every time I opened my Onedrive project folder. The “LIGHT” and “DARK” at the end of each folder specify the frames that were rendered before and after I fixed the cameras.
By the end of the 4 days, my desk was littered with sheets of pages with messy scribbles strewn all over them trying to document which shots I had rendered, in case I somehow forgot. In hindsight, I could have just looked at the rendered frames’ numbers for reference but I guess I had developed a sort of tunnel vision.
EDITING
So now that I had all 1480 frames rendered out, I had to make them into a watchable video. I used Premiere Pro’s image sequence import option to make each lot of jpegs into a video and started editing it all together with the voice lines. I used a bunch of foley sounds and some atmospheric rain audio from https://freesound.org/
I used this for the jazzy background music to set the mood.
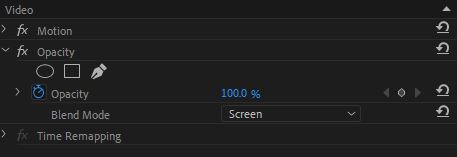
I used this for the rain in the establishing shots.
I positioned it over the shots I wanted there to be rain and I changed the blend mode from “Normal” to Screen”, and it erased the black background.
I used an adjustment layer to animate the colour changing from coloured to black and white at the end of the video.

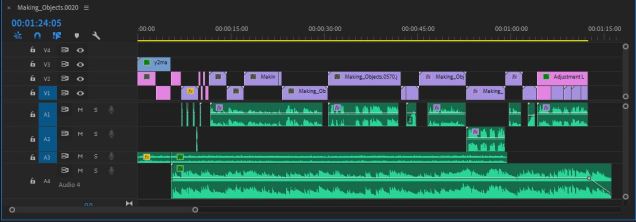
This is what the whole video looked like in the timeline.
Then I exported it and uploaded it to Youtube.
My god, I’m so happy to finally finish this project! I’m free!!!!!
