I was given a premade model of a toy robot that I needed to add realistic metal shaders to and then set up some lights so that the robot is lit up realistically.
I’m doing this with the help of this article.
https://docs.arnoldrenderer.com/display/A5AFMUG/Introduction+to+Arnold+for+Maya
Here’s how the not so little guy should look by the end.

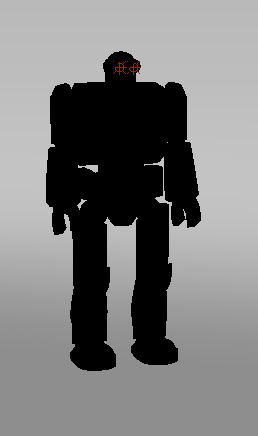
And here’s how he looks, to begin with.

To start off, I created 3 area lights by clicking the area light on the Arnold shelf.

Then I set up the area lights like so.

Then I increased the exposure of each light to 8. I was able to do this by going to the Attribute Editor. Whenever you want to edit the attributes of lights in Arnold, you always need to go to the Attribute Editor.


I selected the right light and clicked the little box that said: “use Colour Temperature” this means that I can now edit the colour of said lights. I left the right light at its default colour, (approximately 6500) which is tinted a cold blue, then I did the same with the left light, but changed the value to 4000, which made it turn an orangey colour.

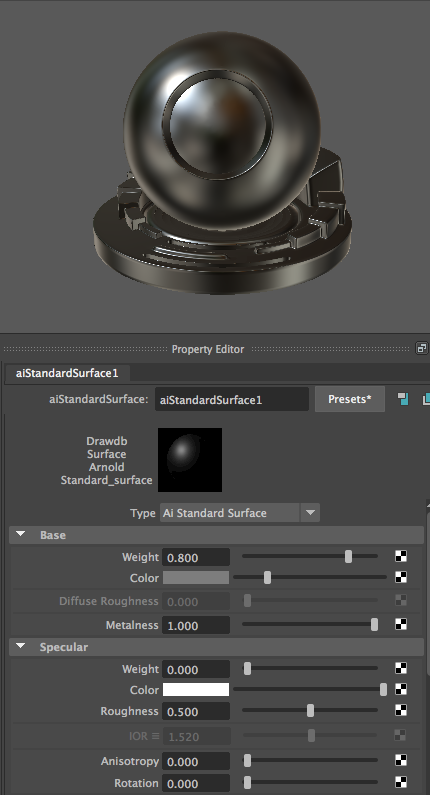
I then assigned a Standard Surface Shader to the robot. I did this by going to the Hypershader window by clicking this little blue ball. This material will be responsible for making the robot look metallic.

I then changed the values to this.
Once I’d assigned the new material to the robot, this is how he looked in the standard view.
Beautiful, ain’t he?
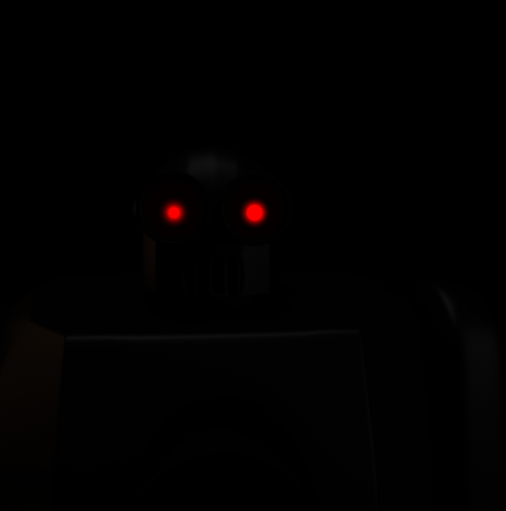
I then made a quick render to see the brave little guy’s progress so far. I did this by clicking this button.

And here’s a blurry image of this majestic being. I may have gone overboard on his eyes…

I then enabled DOF (depth of field) and selected the robot’s head, then did this.
This shows me how far away the robot’s head is from the camera.

And then typed the value at the time into this box.
![]()
And then changed the aperture size to 0.5.
![]()
Then I played around with the render view and got this. It’s not what I’m supposed to do, but I like it.
Then I exported it properly, and this is the final image.

